My dad has been making home-brewed beer for a number of years. He’s quite good at now*. In a lot of cases people tend to prefer his lagers over the commercially available brews. That no doubt has a lot to do with the fact that he is not only the maker but also the barman and drinking company. And he’s good at all three roles.
He makes a stout which is about the closest to a Guinness you can make in a kitchen. My Irish friend Paul spent a week sampling it and afterwards asked how to make his own. This is how.
I won’t go into the whole process of home brewing as there’s lots of information around on how to do that. This is only for the additional steps to make this particular brew.
There are five constituent parts to making the brew:
- The powder base
- The beer concentrate
- Liquid malt
- Liquorice extract
- Yeast
Step 1:
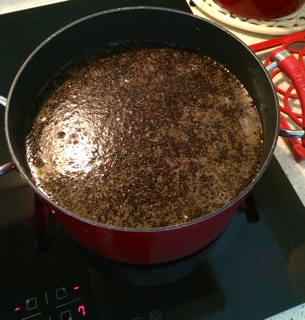
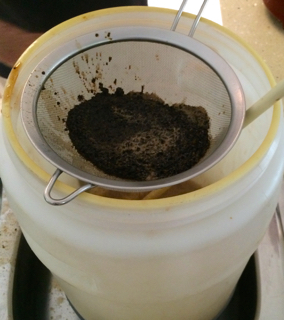
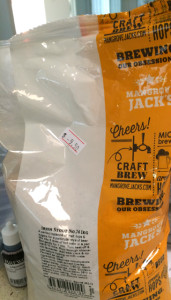 Take the powder base – Mangrove Jack’s is a good choice. The Irish Stout No. 74 as shown in the picture. Put the 1 kilogram of powder in 3 litres of water and bring to the boil. Leave boiling for 1 minute then stand for 20 mins.
[fruitful_sep]Step 2:
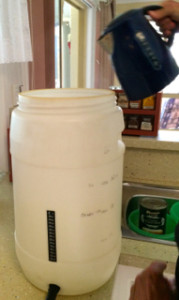
Sterilise the barrel that will be used for brewing with boiling water. This will remove any contaminants that may be present.
[fruitful_sep]Step 3:
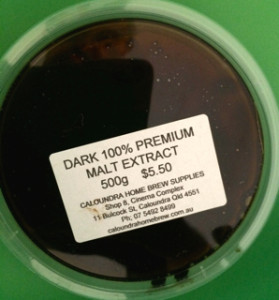
Pour the water from the barrel into two smaller bowls. Place the beer concentrate and liquid malt into them. The heat from the water will help soften them up.
[fruitful_sep]Step 4:
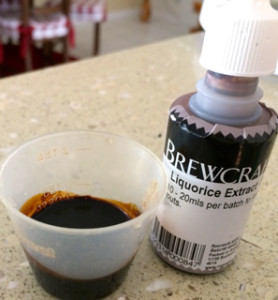 Take 10ml of liquorice extract and put it into the barrel. This adds a slightly heavier flavour to the final brew.
[fruitful_sep]Step 5:
 Pour a kettle’s worth of boiling water into the barrel and then add the liquid malt. If it looks like dirty dishwater then you’re on the right track.
[fruitful_sep]Step 6:
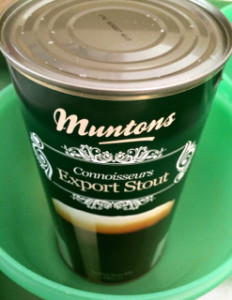
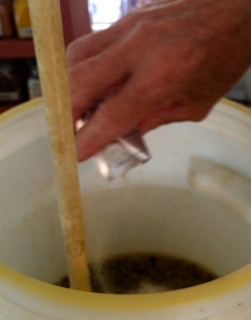
Open the can of beer concentrate and add it to the barrel. Add in a litre or so of cold water and stir.

If you’re in a hot climate then add a block of ice into the barrel. What’s added in the next step will heat it up again but the ice will ensure the yeast (added later) doesn’t get killed from excessive heat. Since yeast is a live organism it can’t take too much heat otherwise it will die and sour the taste.
[fruitful_sep]Step 7:
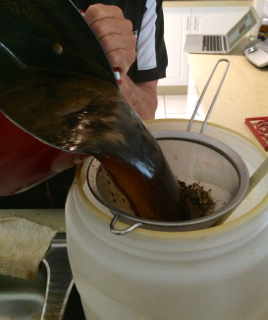
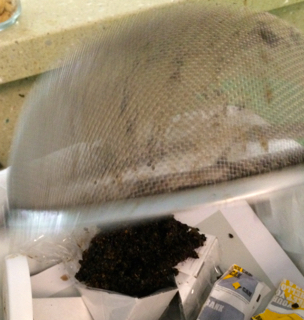
Strain the by-now-cooled powder base (from step 1) into the barrel and top it up to a total of 15 litres with cold water. Most beers recommend you go to 20 litres but here we limit it to 15 litres to help approach the thicker Guinness-like consistency.
[fruitful_sep]Step 8:
After throwing away the residue from the boiled powder base (it makes a good garden fertiliser) add the packet of yeast to the barrel.
[fruitful_sep]Step 9:
 Put the lid on to the barrel and insert the airlock. Add water into the airlock. This will permit the barrel to remain sealed while allowing the gas produced from fermentation to escape.
[fruitful_sep]Step 10:
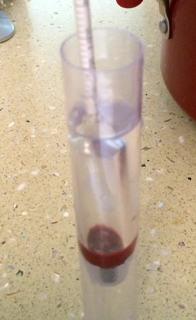 The most difficult phase. Leave it for 4-5 days to bubble away and try to ignore its siren call. Buy a density-checking widget (that’s the technical term) from the local home-brew store and see what values it gives. If it produces the same density result two days in a row then has finished fermenting and you can get on with bottling it.
[fruitful_sep]Step 11:
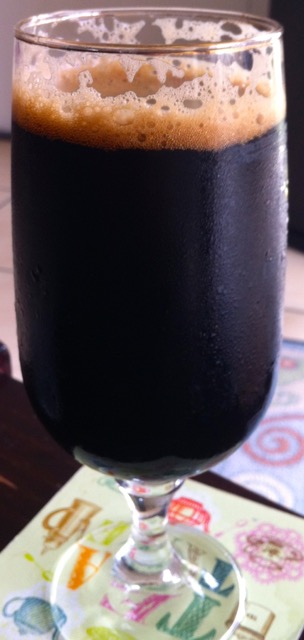
Best served with enjoyable company.
[fruitful_sep]* apparently in the early days – 40+ years ago – quite a few of his ‘interesting’ attempts were surreptitiously tipped by guests into a nearby pot plant when he wasn’t looking.